Oh, how I love homegrown chives!
The zesty, slightly spicy flavor adds such pizazz to a variety of dishes, not just baked potatoes. Although who can resist the green sprinkles on top of sour cream?
Some of my favorite dishes to add chives to are soups and root veggies as the peppery-onion flavor complements them perfectly. They’re also so easy to incorporate into vinegars and oils so you can add this spicy depth to any meal!
Not only are chives simple to sneak into your meals, but they’re also easy to grow if you’d like to have them in your garden. You can even grow them in a well-drained pot.
Homegrown chives love full sun but will do well in partial shade, as well. They’ll burst with growth in moist, well-drained soil, especially soil with lots of nutrients and compost.
In just a few short months, you’ll have long, zesty homegrown chives with vibrant, purple flowers blooming at the top! If your soil isn’t as nutrient-dense, don’t worry. Chives will still make the best of what they have, they just won’t grow as fast.
And, if you don’t have an herbal garden, you can often find bundles of fresh chives at the grocery store or you can purchase them already dried.
Health Benefits of Homegrown Chives
Chives are in the same family as garlic and onions (Allium family) so they do a great job of keeping colds at bay or helping you work through the symptoms. Their antibacterial and antimicrobial actions can help rid the body of all those unwelcome pests that occasionally camp out.
The stimulating heat of chives is penetrating, so you don’t need to add a ton of them to your meals to get their beneficial health effects.
Another reason I’m such a fan of homegrown chives is that they’re an excellent source of vitamin C and are rich in antioxidants which work to protect our cells from the damage done by free radicals. (Free radicals are unstable molecules created by various toxins in our environment and day-to-day life. They put stress on our systems and can lead to long-term complications.) Including antioxidants in your diet will clean up those harmful free radicals and can help keep your body back into balance.
Drying Homegrown Chives
For two of the recipes below, you’ll need to use dried chives, so let’s chat a little bit about the best way to dry your homegrown chives.
If you have the space, slow drying them in bunches is fun as you get to decorate your kitchen area (or wherever you have room) with the pungent green stalks. Simply gather up a loose bunch of chives and rinse them in the sink so all dirt and dead stalks are removed.
Tie the loose bunch with a piece of twine and be sure the twine isn’t too tight so you avoid bruising the chives. Hang the bundle in a covered location out of direct light until it’s completely dry to the touch.
If you’d like a quicker solution, you can chop the chives into quarter-inch pieces and lay them in a single layer on a baking sheet covered with parchment paper. Place them in a dry spot out of direct sunlight until they crumble easily between your fingers.
If you live in a moist or humid climate, you may need a dehydrator to dry your herbs.
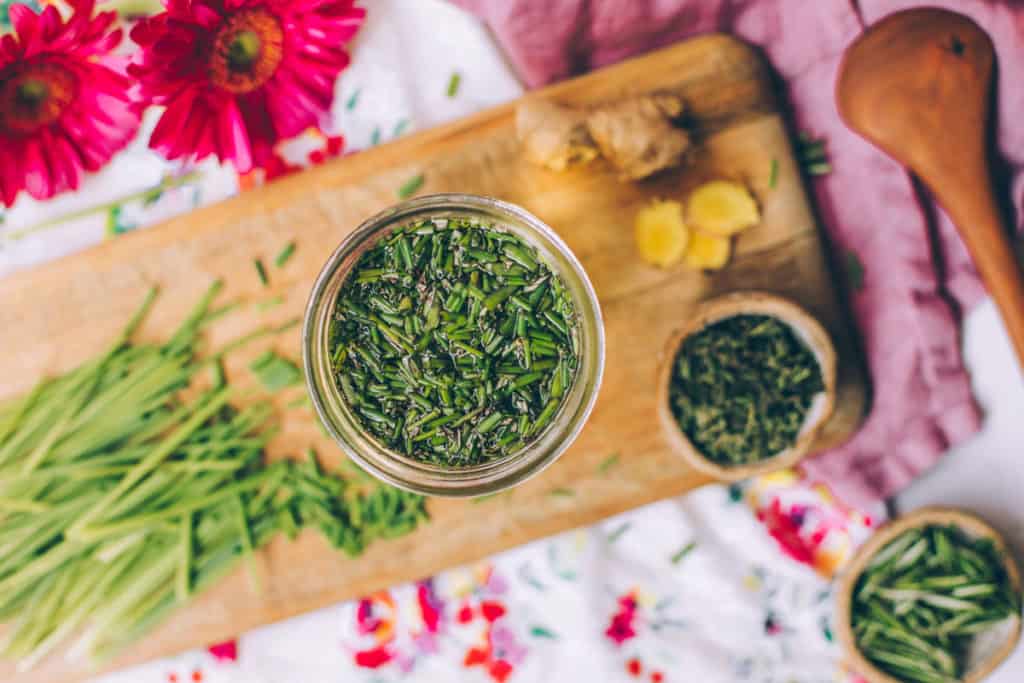
Homegrown Chive Recipes
I’ll tell you a little secret. The best way to get all the nutrients from chives is to avoid cooking them. Below are a few homegrown chive recipes that add a unique flare to your kitchen cookery and don’t require you to turn on the stove. These recipes are quick to whip up, add extra flavor to your meals, and will support your health.
Savory Herbal Oil
Drizzle this oil on anything root-related. Sunchokes, baked parsnips, yams, and winter squash. These veggies will soak in this delicious oil and leave them popping with flavor!
Savory Herbal Oil
Ingredients
- 1 tbsp powdered rosemary (Rosmarinus officinalis)
- 1 tbsp powdered parsley (Petroselinum crispum)
- 1 tsp powdered chives (Allium schoenoprasum)
- 1 tsp powdered basil (Ocimum basilicum)
- 1 tbsp powdered oregano (Origanum vulgare)
- 1 tsp powdered lavender (Lavandula officinalis)
- 1/4 tsp salt (pink Himalayan salt works best)
- 2 tsp vodka (see Notes)
- 1 1/2 cups olive oil
Instructions
- If you need to powder your ingredients, grind up dried herbs individually in a coffee grinder reserved just for herbs. Don’t use your coffee grinder or your herbs will smell like coffee and your coffee could smell like chives. You really do need a grinder dedicated to your herbs and spices.
- Combine powdered herbs together until they’re well blended. Put the herbs and vodka in a bowl and mash until the vodka is well combined and there are no lumps. Cover the bowl and let herbs rehydrate for 30 minutes. Place rehydrated herbs and oil in a blender and blend for 1-2 minutes. Make sure the blender doesn’t get too hot. If it starts heating up, turn it off and let it sit until it is cool. Then blend again.
- Pour the herbal oil into a sterilized glass jar, screw on a lid, and let sit for two weeks. When the two weeks are up, your oil is ready to use!
Notes
Drizzle Vinegar
This vinegar is the perfect dipping addition to a nice warm loaf of sourdough bread. Mix it in with some olive oil and fresh garlic. It’s so simple you might find yourself making it as an appetizer for family meals.
Drizzle Vinegar
Ingredients
- 1/4 cup finely chopped fresh thyme (Thymus vulgaris)
- 1/4 cup finely chopped fresh chives (Allium schoenoprasum)
- 1 tbsp minced fresh ginger (Zingiber officinale)
- 1 tbsp finely chopped fresh rosemary (Rosmarinus officinalis)
- 2 cups white wine vinegar
Instructions
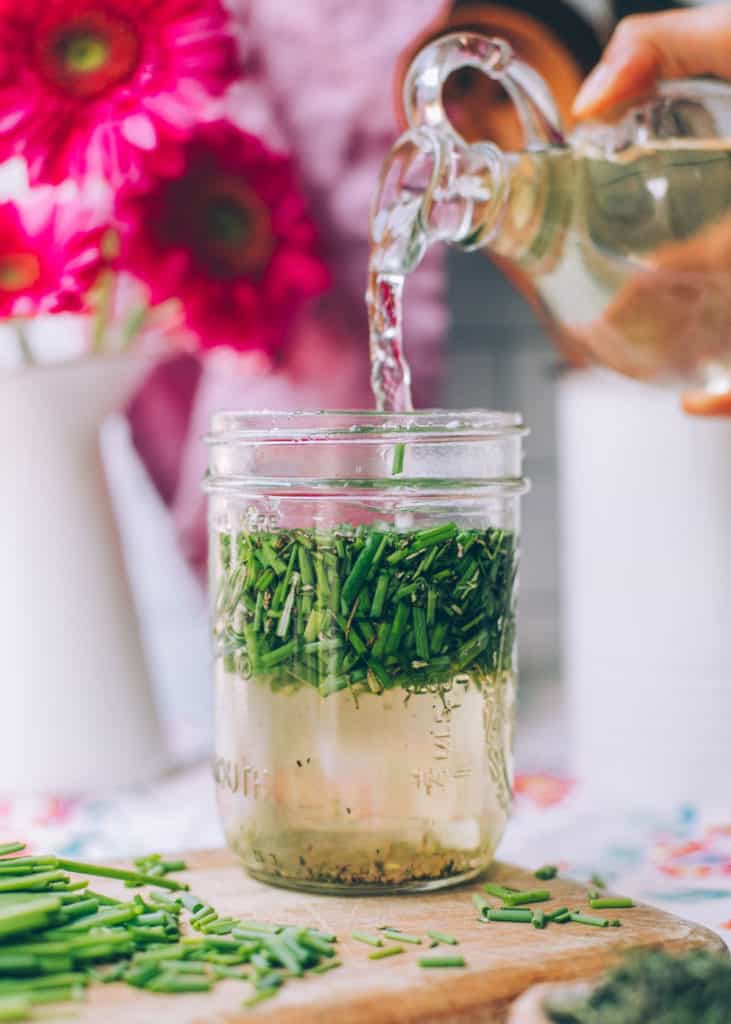
- Add your finely chopped herbs to a sterilized mason jar and add the vinegar. You will need to use a plastic lid as the vinegar will react with a metal lid even if parchment or wax paper is placed in between. I know there are dozens of tutorials on Youtube and Google, telling you to use parchment paper with your herbal vinegars, but the parchment paper turns black.It really is not a good solution. This is one place where you need a plastic lid or cork.
- Screw the lid on firmly and allow the vinegar to sit for one month. Keep the jar in a cool, dark place and shake occasionally to stir up the herbs. After one month your vinegar is all set to go!
Garden Herbal Salt Substitute
You can put this salt onto just about anything. Grains, potatoes, salads, and rice dishes all love a little sprinkle of this garden blend.
Garden Herbal Salt Substitute
Ingredients
- 3 tbsp powdered chives (Allium schoenoprasum)
- 2 tbsp powdered parsley (Petroselinum crispum)
- 2 tsp powdered rosemary (Rosmarinus officinalis)
- 2 tsp powdered thyme (Thymus vulgaris)
- 1/2 tsp celery seed (Apium graveolens)
Instructions
- Blend the powdered herbs together in a bowl, then transfer the mixture to a shaker for easy use. I love to use shakers with lids so the herbs will stay fresh longer; however, shakers without lids will also stay fresh for up to six months. It’s as simple as that!
Homegrown chives are such a lovely addition to your garden and just about any meal you can think of. You can munch on them fresh from the garden or use them dried in a variety of recipes, and the best part is, you don’t need to consume a lot to get all the wonderful health benefits. A few chopped stalks will go a long way in providing support and a delicious zest to your meals!
What are your favorite ways to use chives?
More Resources
Growing and Using Chives
Edible Flowers: Chives
